Blur Shader using Shader Graph in Unity3D
For a long while, I have been looking for a suitable time to write this topic. I started to work for a new company and unfortunately during the first months, I could not spend much time on my blog. My aim is to write at least a few articles every month from now on. Let’s start.
Contents
Introduction
In games, blur is generally used to create post-processing effects. You can create depth of field effect, a blurry glass effect, or motion blur effect.
In one of our previous tutorials, we created a glass shader using Shader Graph and at that tutorial, we used render texture to grab what the camera sees. Then we processed it to refract light. Here, we have a similar approach.
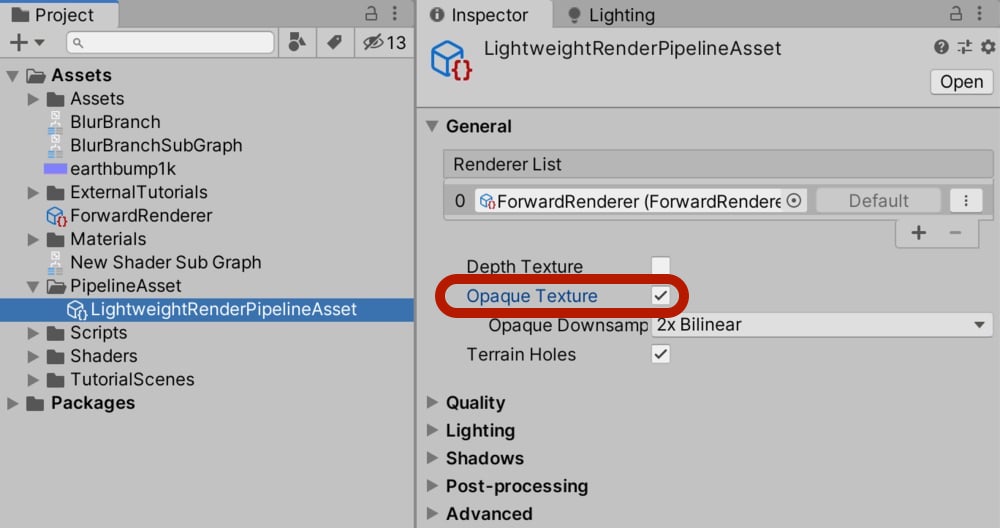
Before we start, we need to prepare our scene. Make sure the opaque texture property is selected in the pipeline asset.
Box Blur
In order to blur an image, we take individual pixels of the image, shift them a little bit in different directions, and add to the original pixels. Thus, we obtain a blurry image. By increasing the number of this iteration we will have better blur effects. Here we will start from the most basic blur effect and develop it in the later parts of the article.
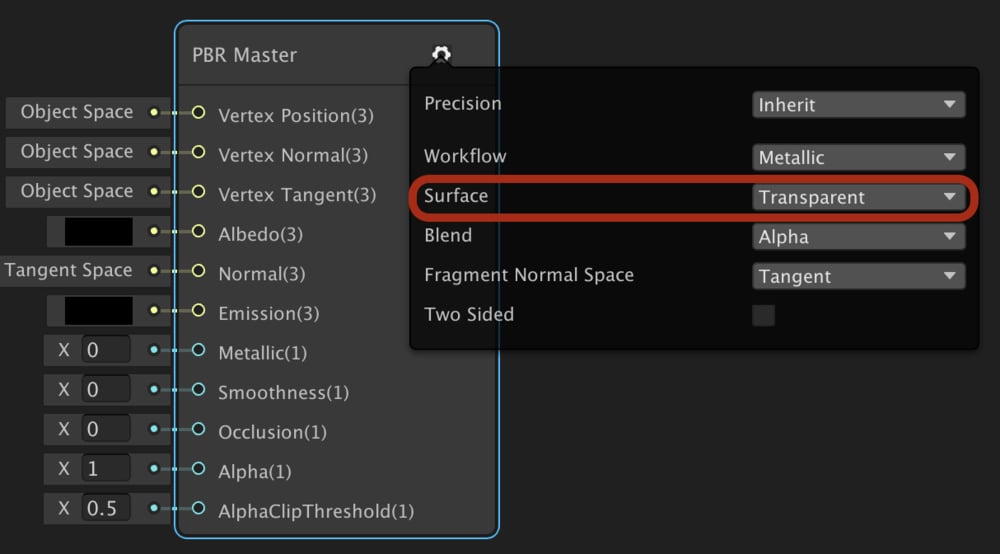
Create a PBR Master Node and set the Surface type to Transparent as seen in the image below. This will allow the computer to render the pixels what the camera sees. In the glass shader tutorial, we have already talked about that.
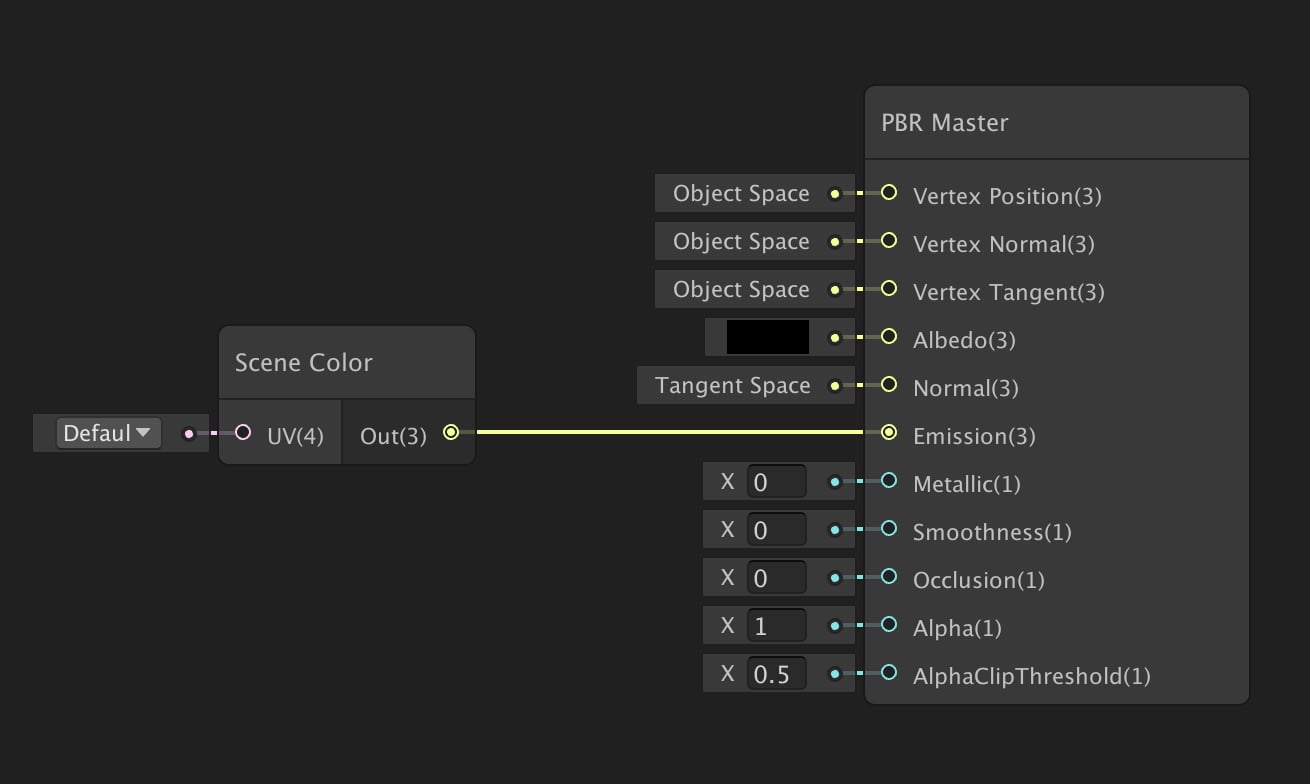
Add a Scene Color Node in your shader graph and connect it to the Emission port of the PBR Master Node. You also have to set Albedo to a darker value.
Let’s go back to Unity Editor and check what we have at this point to understand better what Scene Color Node does.
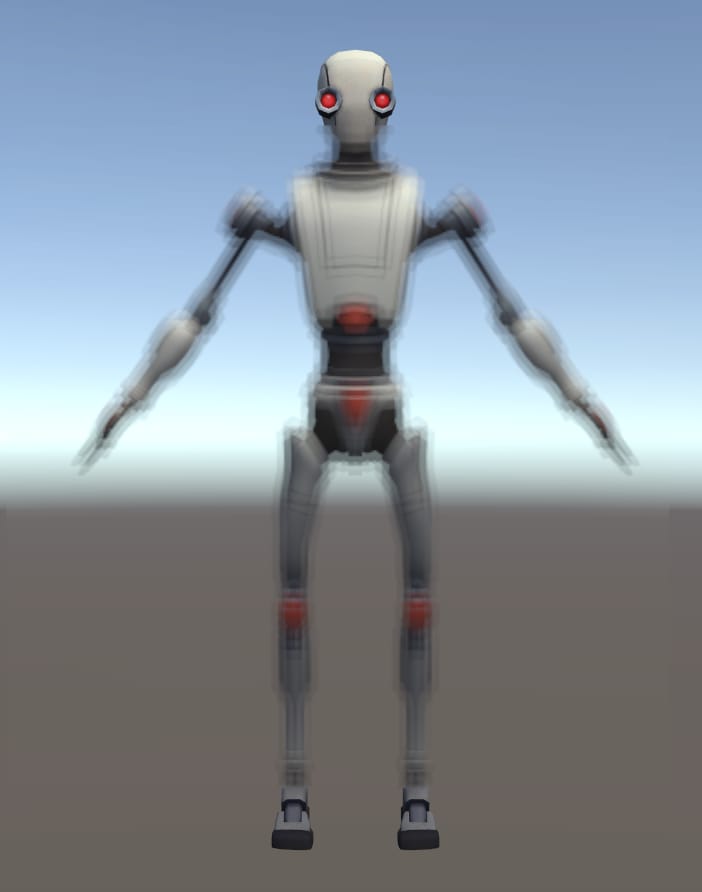
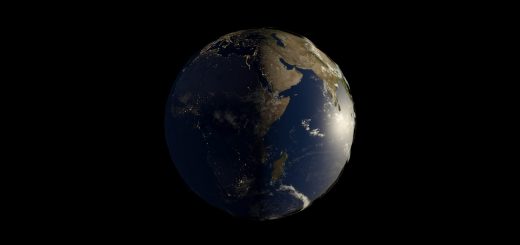
Create a quad and another object, and locate the quad between camera and other object as seen in the image below.
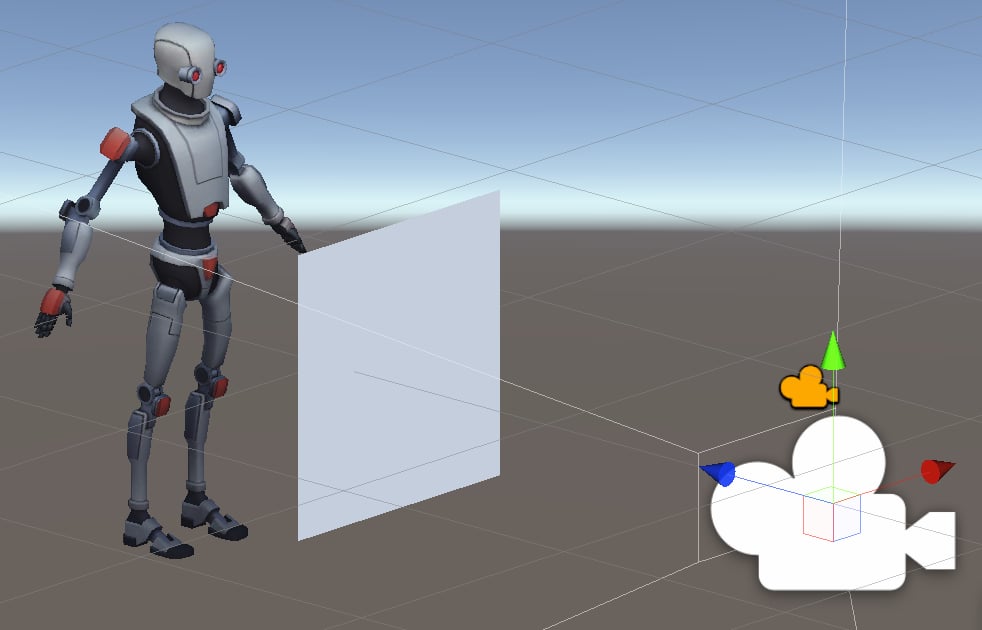
Now we will create a material for our shader graph and assign that material to the quad. The quad should be barely visible after we assign the material.
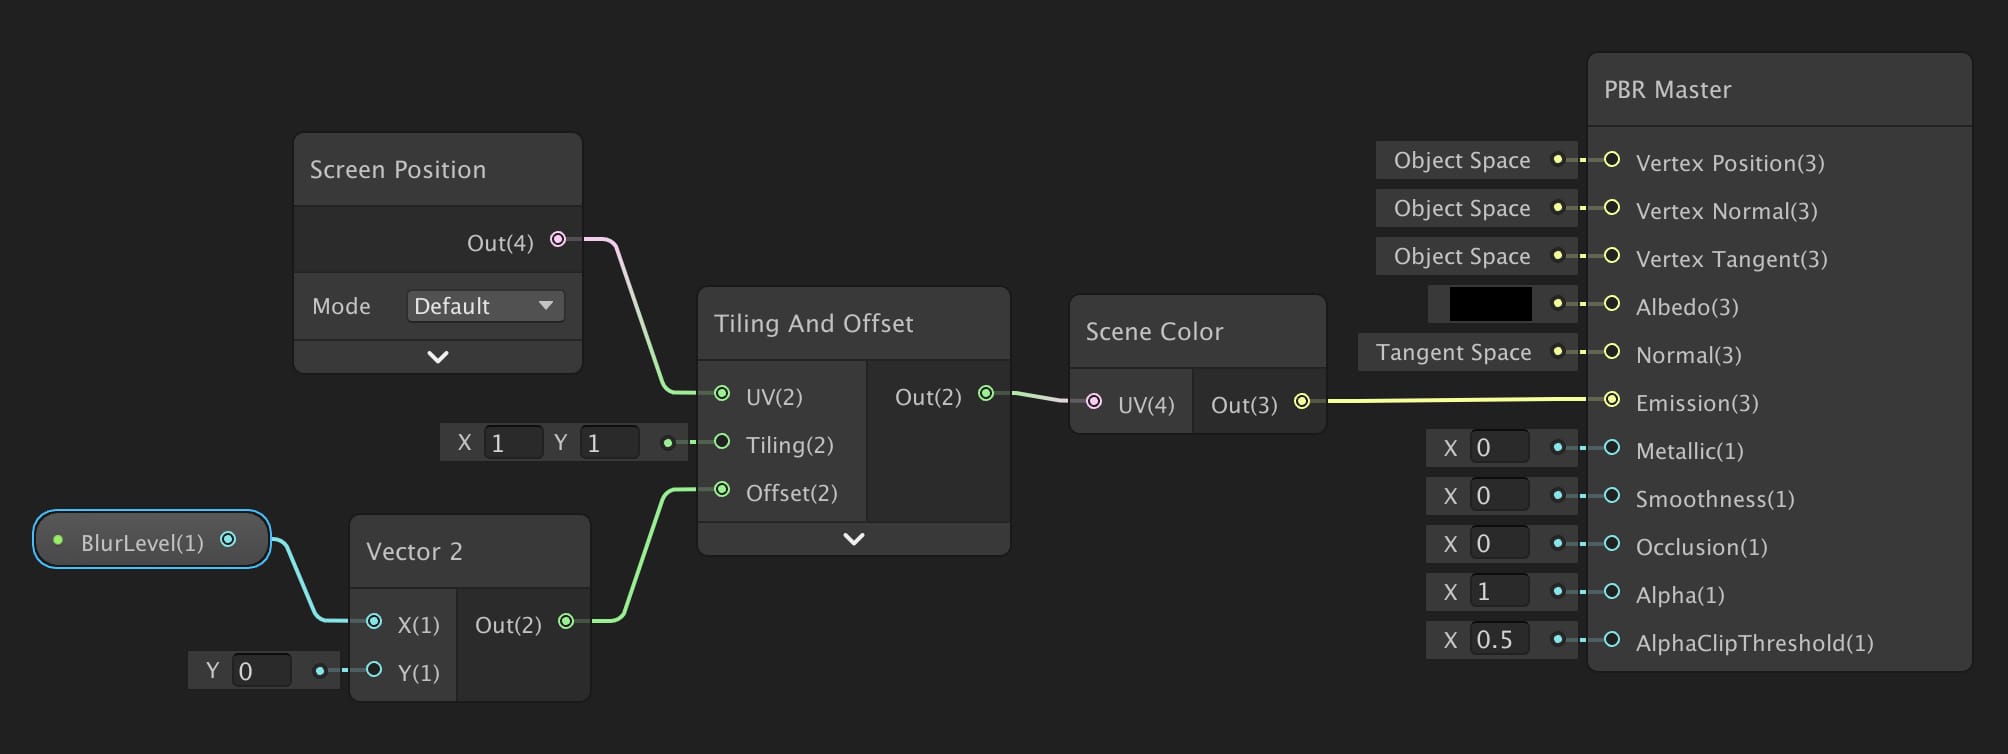
As I mentioned before, we need to take each individual pixel and shift a little bit in one of the directions. To do this, we can use a Tiling And Offset Node to shift the pixels, a Screen Position Node to get the UV coordinates of the pixel on the screen, a Vector2 Node to set the shift amount. Additionally, it is a good idea to add a property that changes the shift amount from the inspector. Let’s call this property as BlurLevel. The configuration of the shader graph should look like as in the following image.
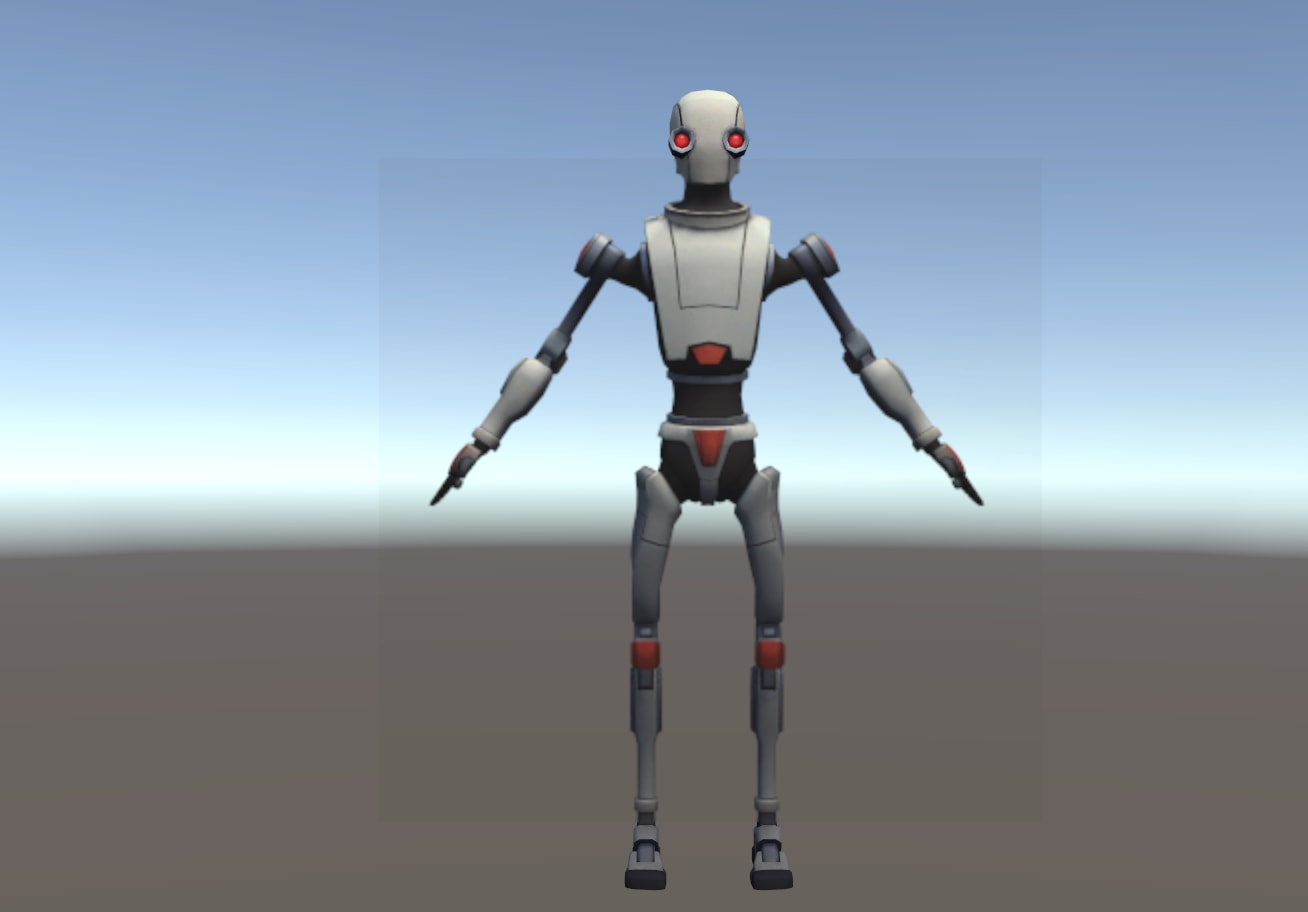
Observe that, we are able to shift the pixels on the quad.
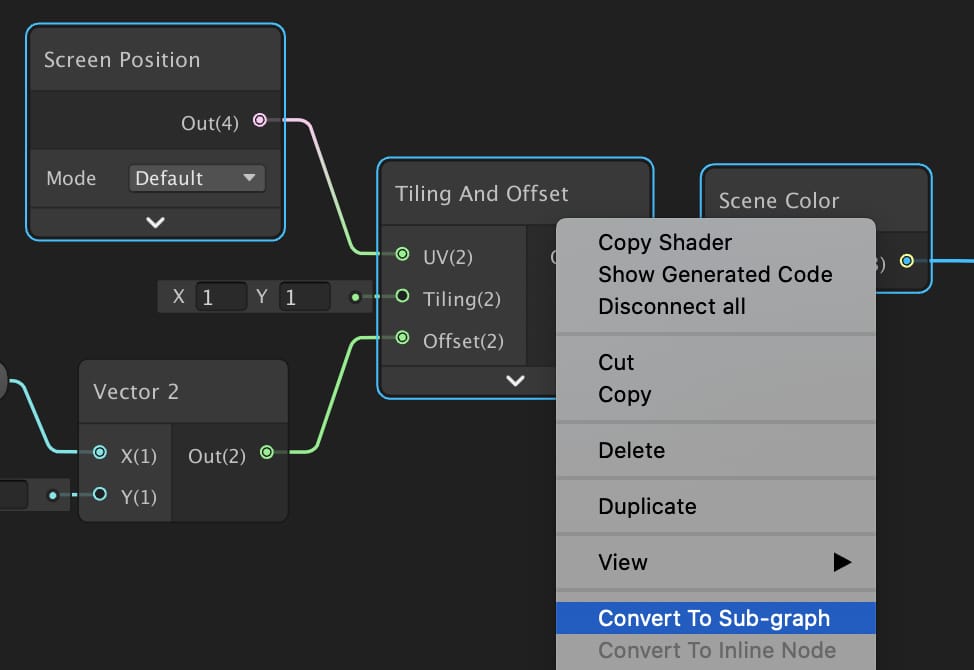
Select Screen Position, Tiling And Offset and Scene Color Nodes (By Ctrl+Left Click or (Cmd+Left Click), then right click on your graph. Select Convert To Sub-graph.
Duplicate Sub-graph that you have just created two times. We need at least three copies of it. One of them will shift the image to the right, one of them stay in place and the final one will shift the image to the right.
To shift the image to the right just multiply BlurLevel property with -1 before connecting it to the Vector2 Node as seen in the image below.
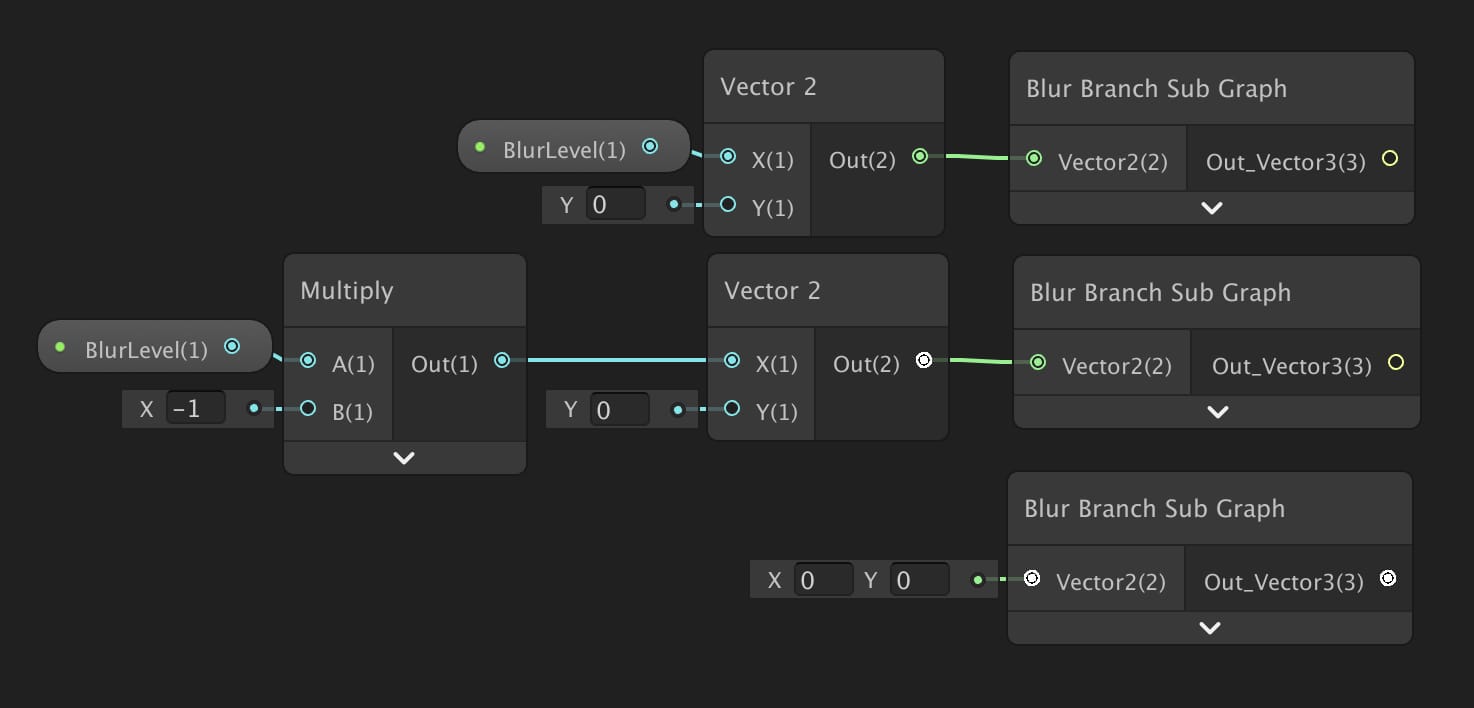
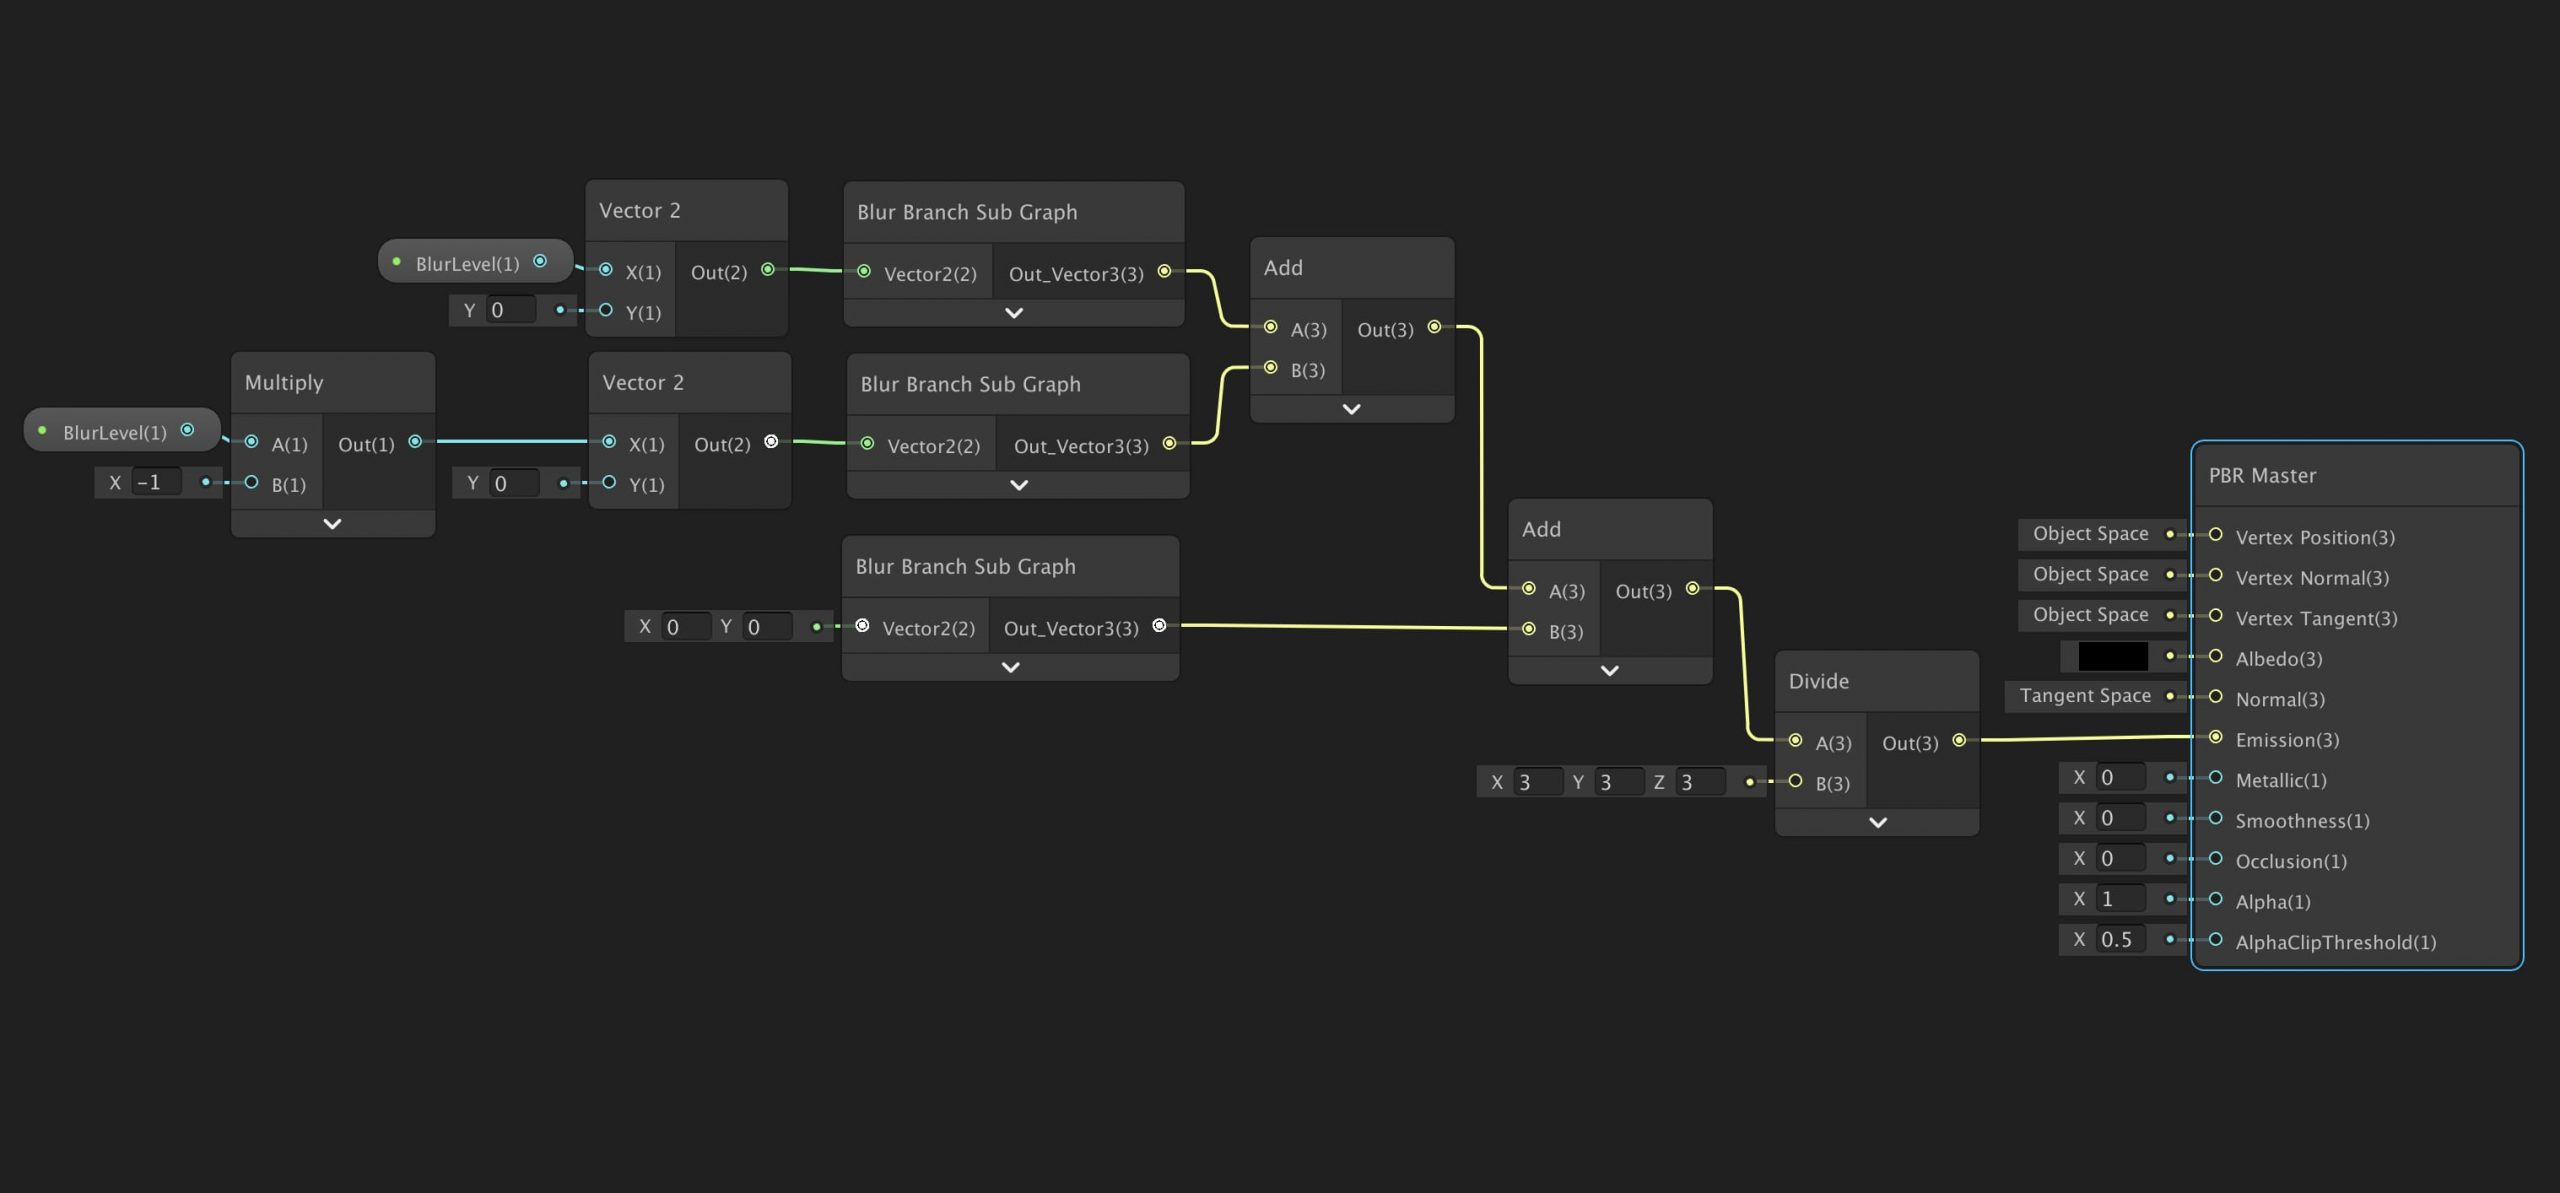
Finally, add all three branches and divide the result by three. We have to divide the result with the number of branches, otherwise, the image on the screen will be brighter than what we are looking for.
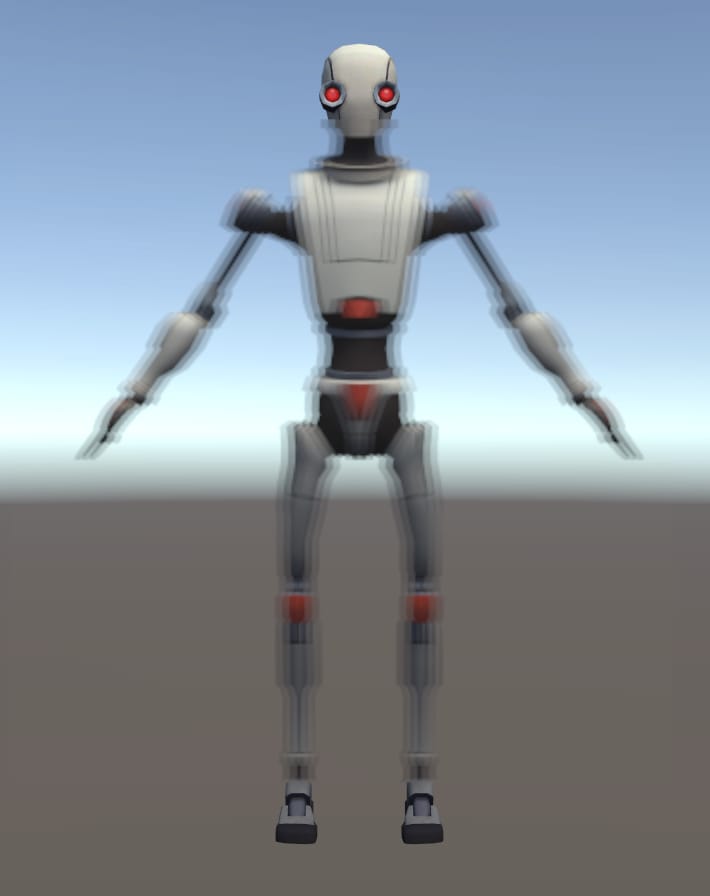
Save the shader, set the BlurLevel value in Material Editor to 0.01 and check what we get.
If you would like to get a better blur effect, you can increase the number of samples. For instance, the following graph gives a much better effect.
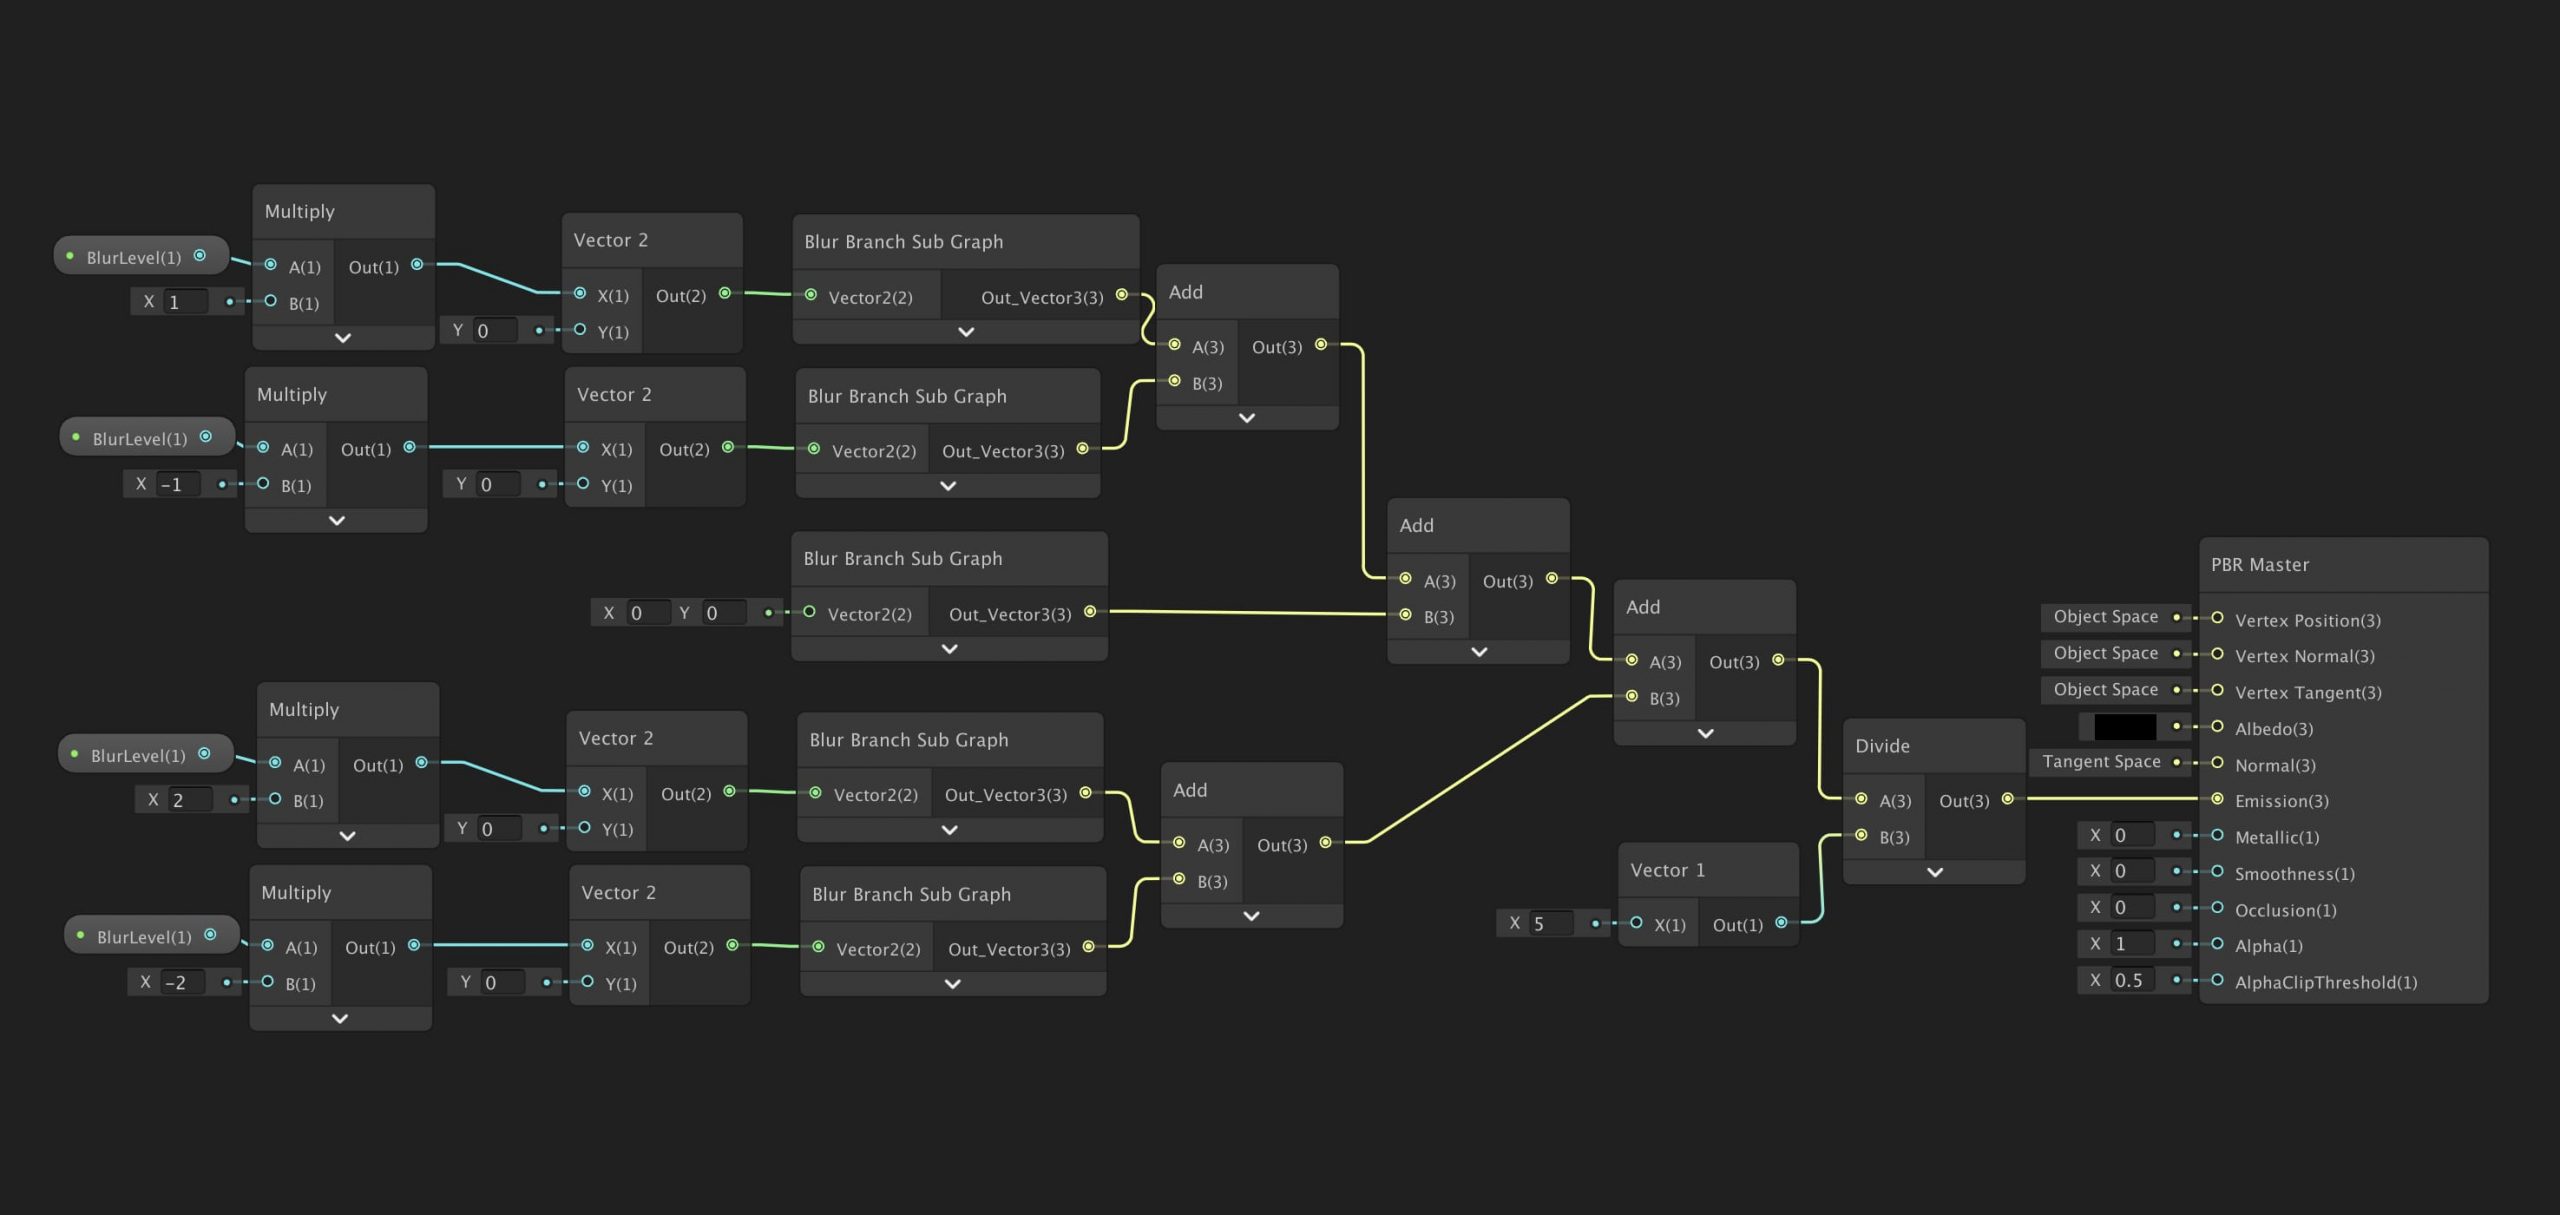
Observe that BlurLevel value is multiplied by 2 and -2 for the new samples and the result of the sum is divided by 5 since it has 5 branches. This is the result of this shader.
At this point, I have to warn you that this is not a cheap operation, and increasing the number of samples may cause unwanted performance drops. For this reason, you should be careful while increasing the number of samples.
Let’s go a step further and shift pixels not only in the x-axis but also in the y-axis, thus we will obtain a 2-D box blur.
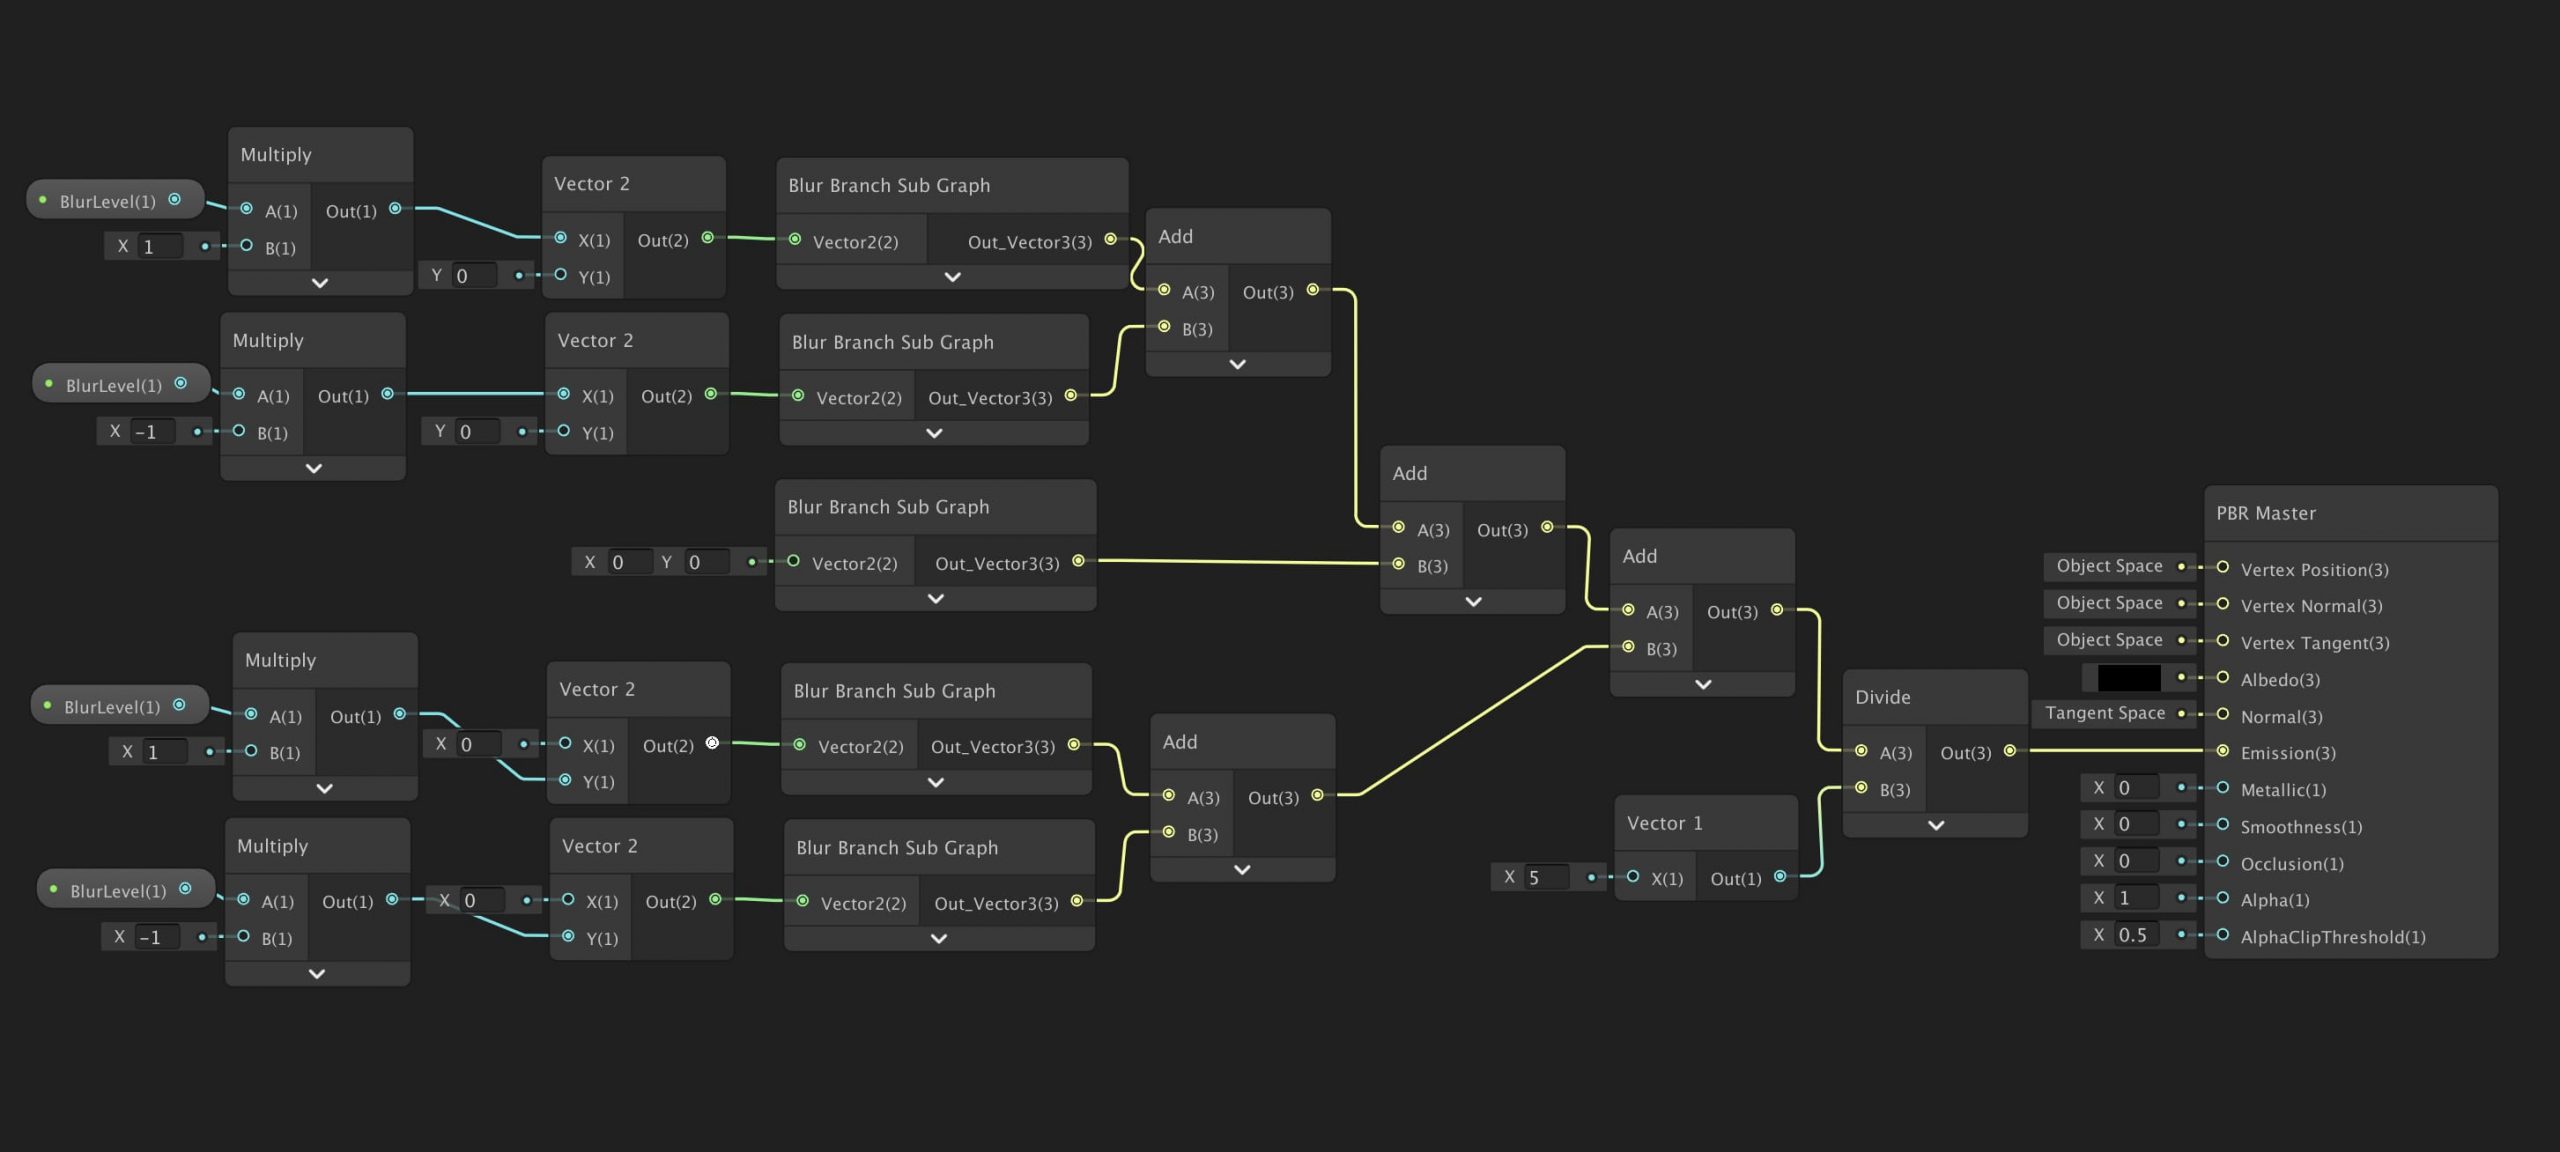
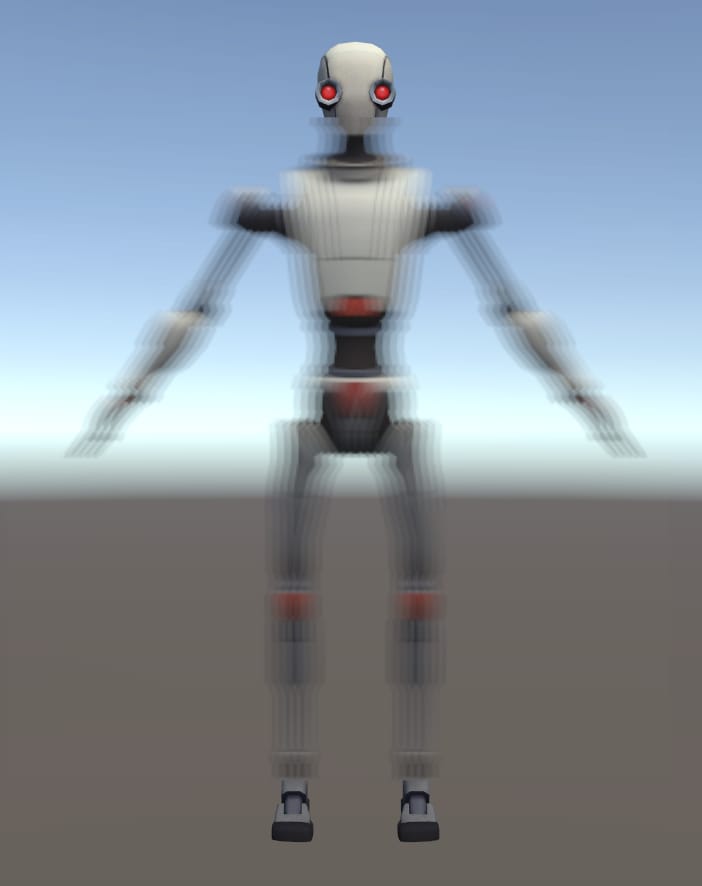
This is the result of the box blur: